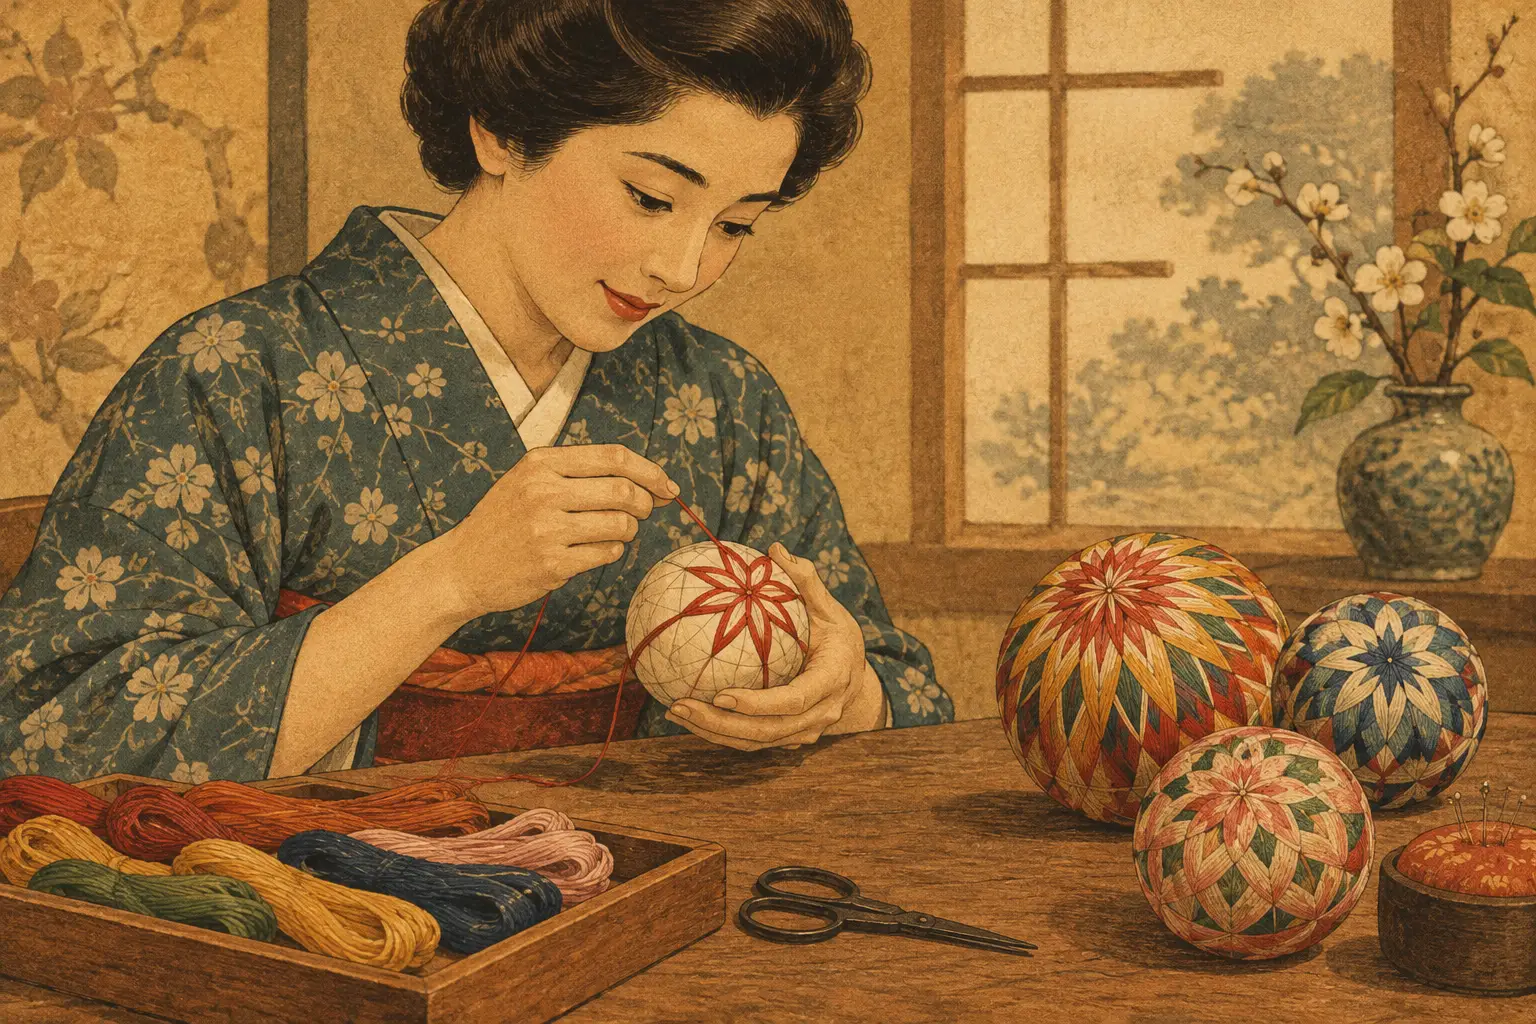
A temari ball can look impossibly precise: jewel-bright thread crossing a perfectly round surface, forming stars, chrysanthemums, and geometric bands. Yet you can make temari balls at a kitchen table with patience, a few inexpensive materials, and a willingness to let the first one be charmingly imperfect. For Japan lovers worldwide, this is a beautiful hands-on way to bring a traditional craft into everyday life.
Temari means “hand ball.” Before they became decorative objects, temari were playthings, often made from scraps of old kimono fabric and wrapped with thread. Over generations, the craft became more refined, especially as embroidery patterns turned each sphere into a small work of art. A finished temari carries both wabi sabi, the beauty of an imperfect handmade object, and the lively color of Japanese seasonal design.
What You Need to Make Temari Balls
The traditional roots of temari are wonderfully practical. You do not need a specialty studio to begin. Start with a base that is easy to hold, about the size of a tennis ball or a little smaller. A foam craft ball works well for a first project, although a wrapped yarn core has a softer, more traditional feel.
Gather embroidery floss or pearl cotton in three to five colors, a tapestry needle with an eye large enough for your thread, straight pins with colored heads, scissors, and a flexible measuring tape or narrow strip of paper. You will also need plain sewing thread to wrap the base. Choose smooth thread in a color close to your background floss so it disappears beneath the final layers.
For your first temari, avoid metallic thread and very slippery silk. Both are lovely, but they can snag or slide as you learn to control tension. Cotton embroidery floss is forgiving, widely available, and gives clear color contrast.
Start with a Smooth, Firm Ball Core
If you are using a foam ball, wrap it in one direction with plain sewing thread, then rotate the ball and continue wrapping in changing directions. The goal is to hide the foam and create a smooth surface, not to build a thick layer right away. Keep the thread snug, but do not pull so hard that it dents the ball.
A yarn core takes a bit longer but creates a satisfying, traditional texture. Wind leftover yarn, fabric strips, or even clean cotton scraps into a ball. Shape it in your palms as you go, then cover it with a few layers of sewing thread until it feels round and stable. This reuse of humble materials is part of the craft’s appeal. A temari does not begin as something precious. It becomes precious through care.
Once the base is covered, use a tapestry needle to tuck the loose thread end under several wraps. Do this whenever you change thread. Knots create bumps, and bumps interrupt the clean lines that make temari patterns shine.
Mark the Ball Before You Stitch
The secret behind a balanced temari design is not perfect eyesight. It is careful marking. Your pins become a temporary map, dividing a sphere into workable sections before embroidery begins.
Choose a point to be the north pole and place a pin there. Place a second pin directly opposite as the south pole. The easiest way to find this point is to wrap a paper strip around the ball from the first pin, mark where the strip meets itself, then fold the measured length in half. Check from several angles before committing. A slightly off-center pole will make every later row look crooked.
Next, make an equator. Wrap your paper strip around the widest middle section of the ball and mark its length. Divide that measurement into four equal parts and place four pins around the equator. You now have a basic four-division guide, often called a simple division. It is more than enough for a first pattern.
Thread a long piece of contrasting floss onto your needle and stitch a guide line from north pole to south pole, passing around the ball and returning to the top. Repeat along the other divisions until the ball has clear vertical lines. Then stitch around the equator, catching the thread lightly at each pin. These guide threads should sit on the surface rather than sink into it.
Do not rush this stage. Temari is not about speed. The quiet repetition can feel close to the contemplative pleasure of calligraphy practice, where each deliberate line affects the whole composition.
How to Make Temari Balls with a Simple Star Pattern
A four-division star is an ideal first embroidery pattern because it looks dramatic while relying on repeated movements. Choose two high-contrast colors, such as deep indigo and cream, vermilion and gold, or plum and pale pink. In Japanese visual traditions, color often carries a seasonal mood. Pink and green can suggest spring, while indigo, white, and silver feel crisp and wintry.
Begin with your first color at the north pole. Secure the thread by sliding the needle under several wraps of the base, leaving no knot on the surface. Bring the thread out near one guide line, just below the north pole. Travel diagonally across one section to a matching point near the equator, wrap once around that guide line, and cross to the next section.
Continue the same route around the ball. After four passes, you will see the beginning of a star. Each new round should sit just beside the previous one, moving gradually toward the equator. Keep your stitches equally spaced. You do not need to measure every gap, but pause frequently and view the ball from a distance. Small adjustments made early prevent a lopsided design later.
When the first color has created a band of crossed lines, switch to your second color. Start close to the first band and repeat the same path, allowing a narrow strip of background to show between colors. That little gap matters. It gives the pattern air and makes each line readable.
As the stitched bands approach the equator, your star will widen. Stop when the center area feels full but not crowded. Tuck the final thread under the wrapped base, trim it close, and remove the marking pins. You can leave the guide threads visible as part of the design or carefully cover them with a final decorative band.
Common Temari Mistakes Are Part of the Craft
The most common issue is uneven tension. If a thread is pulled too tightly, it burrows into the ball and distorts nearby stitches. If it is too loose, the design looks fuzzy and may catch on things. Aim for thread that rests firmly on the surface, as if it belongs there.
Another beginner frustration is a pattern that drifts off course. This usually starts with a marking error, not an embroidery error. If your equator is uneven or the poles are not opposite, do not be afraid to remove the guide thread and remark the ball. A few minutes of correction can save an hour of disappointment.
Color choice also changes the result more than many new makers expect. Too many colors can obscure a simple geometric pattern. For your first few temari, use a calm background and two strong accent colors. Once your hands understand the rhythm, try a three-color chrysanthemum, a kiku motif, or an asanoha-inspired hemp-leaf geometry.
Give Your Temari a Place in Your Home
A completed temari is not meant to disappear into a drawer. Display one in a small bowl, hang several in a window, or place them beside a favorite piece of ukiyoe-inspired art or a carefully folded textile. They also make thoughtful gifts for friends who love Japan, especially when you share the story of the colors or the pattern you chose.
If you make a set, let the balls vary slightly. Matching does not have to mean identical. A family of temari in related shades can feel more personal than a row of perfect copies, each one holding a record of an evening spent making something slowly by hand.
Set out your threads, choose colors that make you happy, and begin with one ball. The first may not resemble a museum piece, but it will carry something better: your own connection to a craft that has traveled through Japanese homes, seasons, and hands for generations.