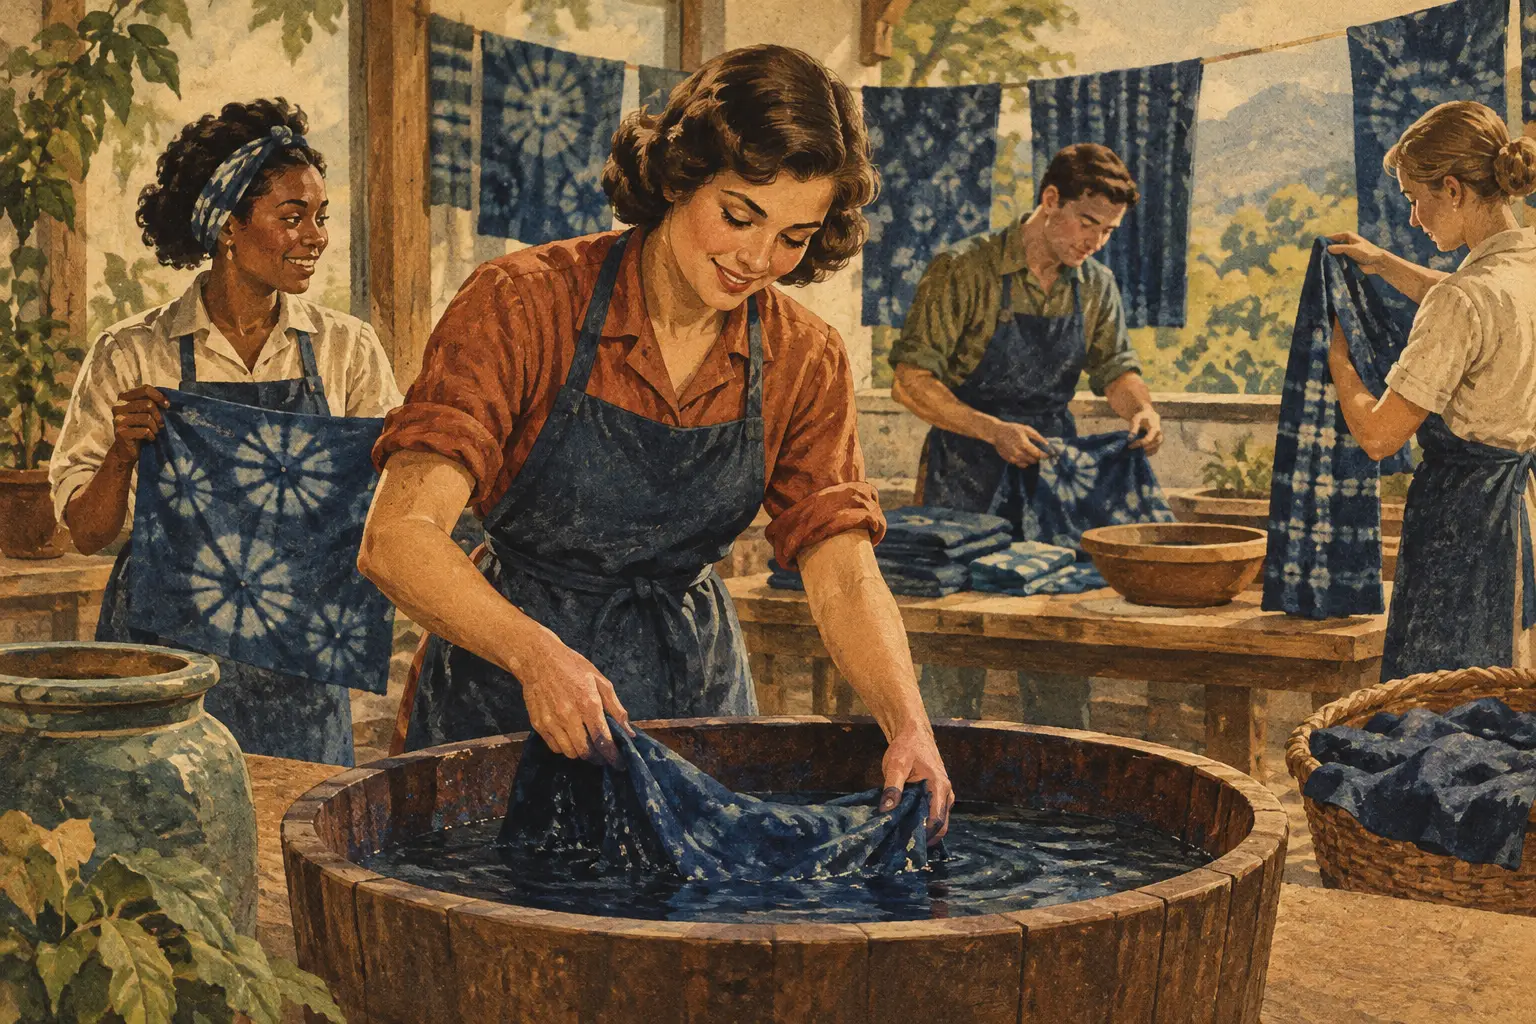
An indigo dyeing workshop can change the way you look at a simple cotton handkerchief. You arrive with a plain white piece of fabric and leave with deep blue patterns made by your own hands – each fold, twist, knot, and pause becoming part of the final design. For Japan lovers, it is one of those travel experiences that feels wonderfully tangible: a traditional craft, a local maker, and a souvenir that carries the memory of the day.
Known in Japanese as aizome, indigo dyeing has a long history in Japan. Its rich blue once colored workwear, festival clothing, bedding, noren shop curtains, and everyday textiles. Today, workshops across the country welcome visitors who want to experience this beautiful process for themselves, whether they are serious textile fans or simply curious travelers looking for a meaningful afternoon away from crowded sightseeing routes.
Why an Indigo Dyeing Workshop Feels So Special
Japan has no shortage of beautiful things to photograph, from temple gates and mossy garden paths to ukiyo-e prints in museum cases. But making something yourself creates a different kind of connection. Indigo dyeing asks you to slow down, pay attention to texture, and accept a little uncertainty. You can plan a pattern, but the dye has its own character.
That sense of surprise is part of the appeal. A fabric that looks pale green when it first leaves the dye bath gradually turns blue as it meets oxygen in the air. Watching the color shift is almost magical, especially the first time. Add a second or third dip, and the blue deepens from soft sky tones to a dramatic navy known as Japan blue.
There is also a gentle wabi sabi quality to the results. A tiny irregular line, an unexpected white space, or a slightly uneven shade is not a failure. It is evidence that the piece was made by a person, in one particular moment. No two items will come out exactly alike.
A Short Introduction to Japanese Aizome
Natural indigo is traditionally made from the leaves of the Japanese indigo plant, Persicaria tinctoria, called ai. The leaves are fermented into a material called sukumo, then prepared in a living dye vat with ingredients that help the color develop. Maintaining a natural indigo vat requires patience, experience, and daily care. It is closer to tending a small ecosystem than opening a bottle of craft-store dye.
Not every workshop uses the same method. Some studios work with natural fermented indigo, while others use synthetic indigo for easier consistency and a simpler introduction for beginners. Neither choice automatically makes a workshop better for a visitor. Natural indigo can offer a deeper connection to traditional processes, but it may be more expensive and the colors can vary. Synthetic dye is often more predictable, accessible, and practical for a short activity.
If the traditional method matters to you, ask whether the studio uses natural aizome, fermented sukumo, or synthetic indigo when booking. Most makers are happy to explain their process, and their answer often adds another layer of appreciation to the experience.
What Happens During the Workshop
Many indigo sessions last between 60 and 120 minutes. The exact pace depends on the item you choose and the complexity of the resist-dyeing technique. Workshops are commonly offered in historic craft towns, rural areas, and cities with strong artisan communities, including regions of Tokushima, which is especially famous for its indigo traditions.
You will usually begin by choosing an item. A handkerchief is a classic first project, but studios may offer tenugui hand towels, tote bags, scarves, socks, T-shirts, small pouches, or fabric panels. For a first workshop, a smaller item is often the best choice. You can focus on learning the process rather than worrying about a large surface area.
Next comes the pattern-making stage. The instructor may show you a few simple shibori methods, Japan’s broad family of resist-dyeing techniques. You might fold the fabric into triangles, bind small sections with string, clamp it between wooden shapes, or wrap it tightly around a tube. Wherever the dye cannot reach, the fabric stays white or pale.
Then comes the dye bath. You will usually wear gloves and an apron, lower the fabric into the vat, gently move it beneath the surface, and squeeze out excess liquid. The first color can look yellow-green rather than blue. Once you lift the fabric out, air begins its work. This oxidation stage is one of the great small thrills of aizome.
After the fabric changes color, you may repeat the process several times. More dips generally mean a darker, fuller blue, but there is no universal rule about what looks best. A delicate pattern with light blue areas can be just as lovely as a saturated navy piece. Finally, you rinse the textile, remove the ties or clamps, and open it up for the reveal.
That reveal brings out the shared excitement in the room. Even if everyone followed the same instructions, every pattern will be different. It is a friendly reminder that craft is not about producing identical results. It is about participating in the material.
How to Choose the Right Indigo Dyeing Workshop
For most visitors, language support is the first practical consideration. Look for studios that clearly state whether they welcome English speakers, provide visual instructions, or can accommodate international guests. You do not need to speak Japanese fluently to enjoy the workshop, but clear demonstrations make the experience more relaxing.
Also check what is included in the price. A low-priced session may cover one small handkerchief, while another workshop may include a larger item and multiple dye baths. Consider the location, too. A studio near a major station is convenient, but a workshop in a traditional town can become the centerpiece of a full day of wandering, local food, and craft shopping.
For travelers with limited time, booking ahead is wise. Small studios may have only a few stations, especially when a single artisan leads the class. If you are traveling with friends or family, confirm the group size and age policy before you go. Some workshops are easy for beginners and children, while others use more detailed techniques suited to adults who can work patiently with folds and bindings.
What to Wear and Bring
Indigo is a dye, so dress with that reality in mind. Studios generally provide aprons and gloves, but it is smart to wear clothes you would not be devastated to stain. Avoid sleeves that hang into the vat, and bring a bag for carrying home a slightly damp item if the studio does not provide packaging.
Keep jewelry simple, especially rings and bracelets that could get in the way while tying or rinsing fabric. If you have long hair, tie it back. These are small details, but they make it easier to enjoy the hands-on part without fussing over your outfit.
A Few Good Workshop Etiquette Tips
Listen closely when the instructor explains how to handle the vat. Natural indigo baths can be sensitive, so they may ask you not to splash, stir aggressively, or introduce soap or lotion into the dye. Follow their guidance even if you have dyed fabric before at home.
It is also polite to ask before taking close-up photos of the workspace, vats, or other guests. Many artisans are generous about sharing their knowledge, but some techniques are personal to their studio. A quick question shows respect for the maker and the tradition you came to experience.
Making Your Piece Part of the Journey
Once your dyed textile is dry, do not tuck it away and forget it. Use a tenugui as a kitchen towel, frame a striking shibori panel, carry a dyed tote on your next trip, or wear your scarf when you want a quiet reminder of Japan. Unlike a mass-produced souvenir, it has a story you can tell without checking the tag.
Your item will likely fade gently over years of washing and sunlight. That is normal, particularly with natural dyes. Wash it separately in cool water at first, use mild detergent, and dry it away from harsh direct sun when possible. The changing color can become part of its mono no aware – the awareness that beauty is often bound to time, change, and memory.
An indigo workshop is not about leaving with a flawless designer object. It is about standing beside a blue vat, learning from a craftsperson, and seeing a plain piece of cloth become unmistakably yours. Make room for one on your Japan itinerary, bring your curiosity, and let the blue surprise you.