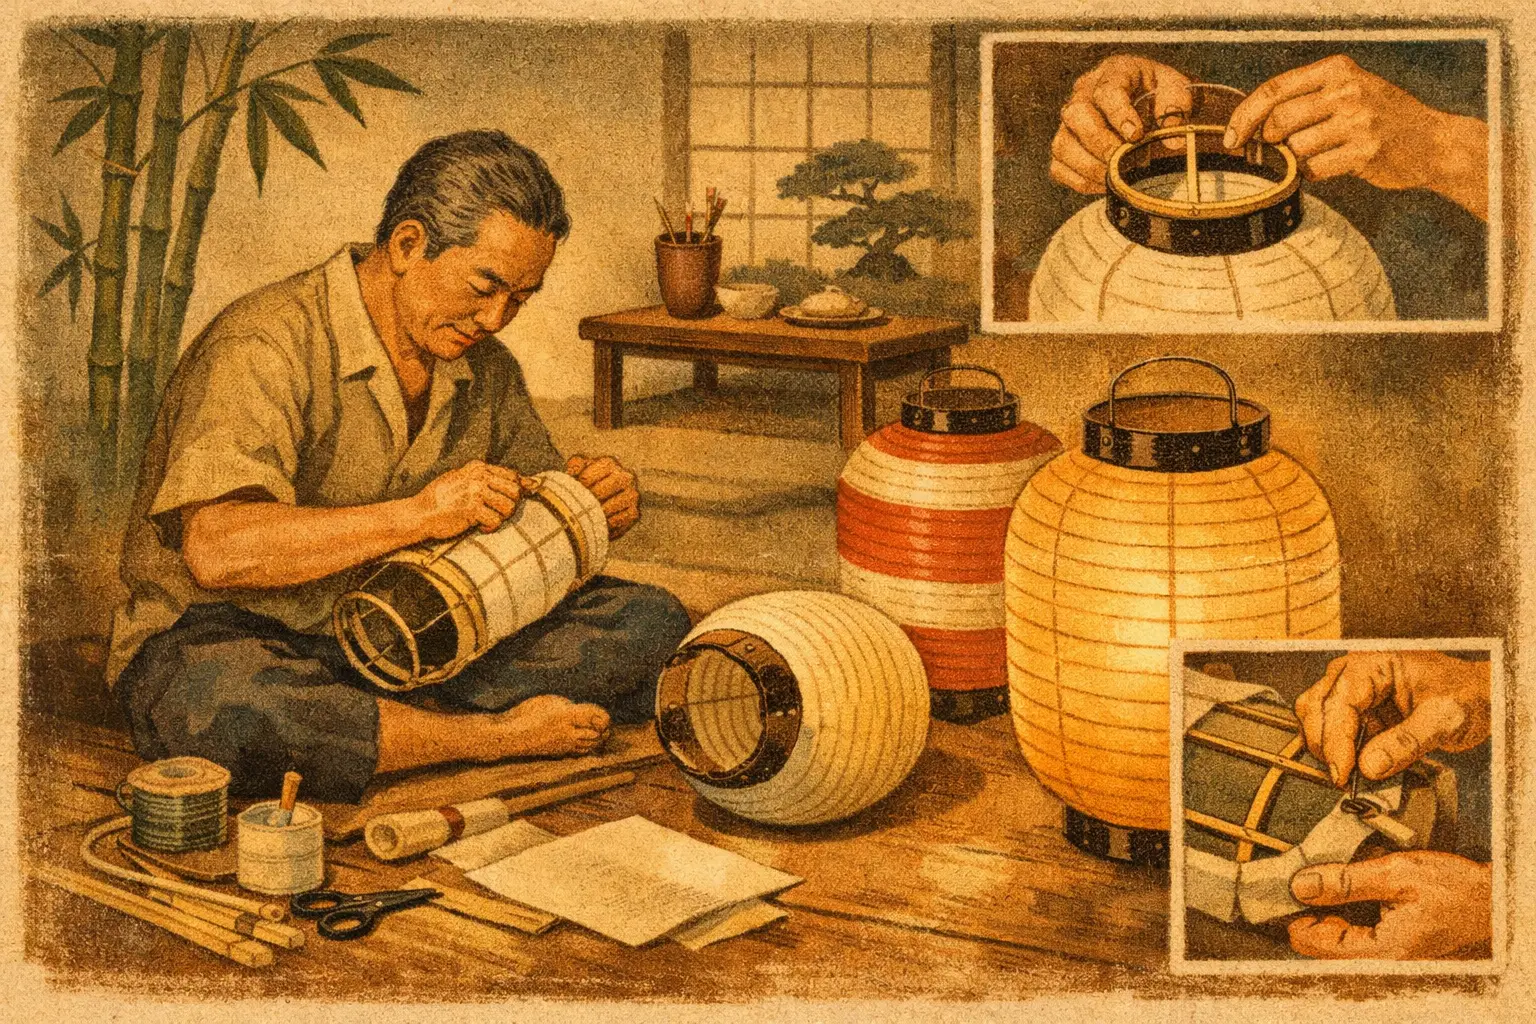
A chochin lantern does more than brighten a room. Its soft, filtered glow can bring back the feeling of a summer matsuri, a quiet temple approach at dusk, or an old Kyoto street where every doorway seems to hold a story. Learning how to make chochin lanterns is a satisfying way to bring that atmosphere home – with your own colors, brushwork, and small imperfections.
Traditional chochin are collapsible lanterns made from fine bamboo ribs and washi paper. They are familiar sights outside izakaya, during Obon celebrations, and at festivals across Japan. The real craft takes patience and practiced hands, but a home project can honor the same beautiful idea: light held inside a light, flexible paper form.
What makes a chochin different from other paper lanterns?
A chochin has a distinctive accordion-like body. Thin bamboo strips create circular ribs, while paper spans the spaces between them. That ribbed shape is not just decorative. On a traditional lantern, it allows the body to compress for storage and expand when hung.
For a first project, you do not need to recreate a fully collapsible lantern. A fixed-frame version gives you the recognizable silhouette and a chance to practice the essential materials. If you fall in love with the process, you can later try a workshop in Japan, where craftspeople use specialized tools, handmade washi, and techniques developed over generations.
There is a little wabi sabi in a handmade lantern. A slightly uneven line of paper or an imperfect ink circle is not a failure. It is evidence that a person made something with care.
Materials for making a chochin lantern
Choose light materials that will allow a warm glow to pass through. For a lantern about 10 to 12 inches tall, gather the following:
- A plain round paper lantern or a balloon to use as a temporary shaping form
- Thin bamboo strips, flexible rattan reed, or narrow craft wood strips
- White washi paper or high-quality translucent paper
- Rice glue, methyl cellulose paste, or clear-drying craft glue
- Two sturdy cardboard rings or lightweight wooden embroidery hoops
- Scissors, a ruler, a pencil, and clothespins or small clips
- Black sumi ink and a brush, paint markers, or colored paper for decoration
- An LED tea light or LED string light with a battery pack
Washi is the traditional choice because its long plant fibers are strong even when very thin. It also has a gentle texture that makes light look alive rather than flat. If you cannot find washi, translucent mulberry paper is a good alternative. Avoid standard printer paper. It is too opaque, too stiff, and likely to wrinkle under paste.
For safety, use LEDs only. Chochin were historically illuminated by candles, but an open flame inside a paper lantern is a real fire risk. The soft light of a warm-white LED gives you the mood without the danger.
How to make chochin lanterns step by step
Build the top and bottom rings
Start with two matching rings. Cardboard rings are perfectly fine for a decorative lantern, but thin wood or embroidery hoops will last longer. Make the opening wide enough to place your LED light inside and to attach a hanging cord at the top.
If you are using cardboard, cut two donut shapes about 5 inches across, with a center opening of roughly 3 inches. Cover the visible edges with a strip of washi or colored paper. This small finishing step makes the lantern look much more intentional.
Shape the bamboo ribs
Cut 10 to 14 bamboo strips to the same length. For a small lantern, strips around 14 inches long create a pleasing rounded body. Soak bamboo in warm water for 15 to 20 minutes if it feels brittle. Flexible strips bend cleanly instead of splitting.
Glue or tape one end of each strip evenly around the outside of the bottom ring. Space them like the numbers on a clock. Bend the strips upward and attach their other ends to the top ring. Work across from one strip to the next so the shape stays balanced.
At this stage, your frame may look a little wild. That is normal. Adjust each rib until the body is evenly rounded, then secure the joints with clips while the glue dries. A traditional chochin has many more closely spaced ribs, but fewer ribs are easier for beginners and still create a clear Japanese lantern profile.
Add paper in long, calm strips
Cut your washi into horizontal strips about 2 inches wide. Starting near the bottom, brush a thin layer of paste over one section of bamboo and lay down the first strip. Let it overlap slightly at the seam. Continue around the lantern, then add the next strip above it, overlapping the lower edge by about a quarter inch.
Keep the paper gently taut, but do not pull hard. Washi can stretch when damp and tighten as it dries. Too much tension may distort the frame or tear the paper later.
This method creates visible horizontal bands that echo the folds of a classic chochin. You can also cover the frame with one large sheet of paper, but strips are more forgiving and produce a more traditional look. Once the body is covered, leave it to dry fully before decorating. Rushing this stage is the quickest route to smudged ink and wrinkled paper.
Finish the edges and add a hanger
Glue a narrow strip of paper around the top and bottom edges, covering the ends of the ribs. Add a cord, twine, or thin wire through two opposite points on the top ring. Make sure the cord is secure enough to support the lantern without pulling the paper body.
Place your LED light inside. A small LED tea light works well for a table lantern. If you want to hang it, use a lightweight battery-powered LED string and keep the battery pack outside the lantern where you can reach the switch.
Decorating your lantern with Japanese-inspired details
The classic restaurant chochin often carries bold black kanji, a family crest, or the name of a shop. For your first lantern, simple is stronger. A single large character, a red circle inspired by the hinomaru, or a brush-painted crest-like motif can look striking from across a room.
If you read Japanese, choose text carefully. A favorite word such as matsuri (festival), yume (dream), hana (flower), or hikari (light) can be meaningful and easy to research. It is better to use one word you understand than a row of decorative characters with an accidental meaning.
Nature motifs are equally beautiful. Try indigo waves, maple leaves, plum blossoms, or a moon over a mountain ridge. Ukiyoe prints are a wonderful source of color and composition ideas, though a lantern usually looks best with a simplified version of the scene. Remember that the paper itself is part of the design. Leave breathing room for the light.
When a kit or workshop is the better choice
Making your own lantern is creative and personal, but it is not always the best route if your goal is a museum-quality chochin. Authentic lantern makers use finely split bamboo, custom molds, carefully prepared adhesive, and washi selected for its strength and transparency. Those details matter, especially in lanterns intended for outdoor use or repeated collapsing.
A kit is a smart choice if you want reliable materials and less trial and error. A hands-on workshop is even better if you are traveling in Japan and want to understand the rhythm of the craft: measuring, bending, pasting, drying, and finishing under the guidance of someone who knows the tradition from the inside. For Japan lovers worldwide, that kind of experience becomes more than a souvenir. It becomes a memory you can hang in your home.
Your first chochin may not fold perfectly, and its circles may not be identical. Hang it anyway. Turn on the LED at twilight, let the paper glow, and enjoy that small moment of mono no aware: a handmade object, a changing light, and a connection to Japan that feels wonderfully close.